
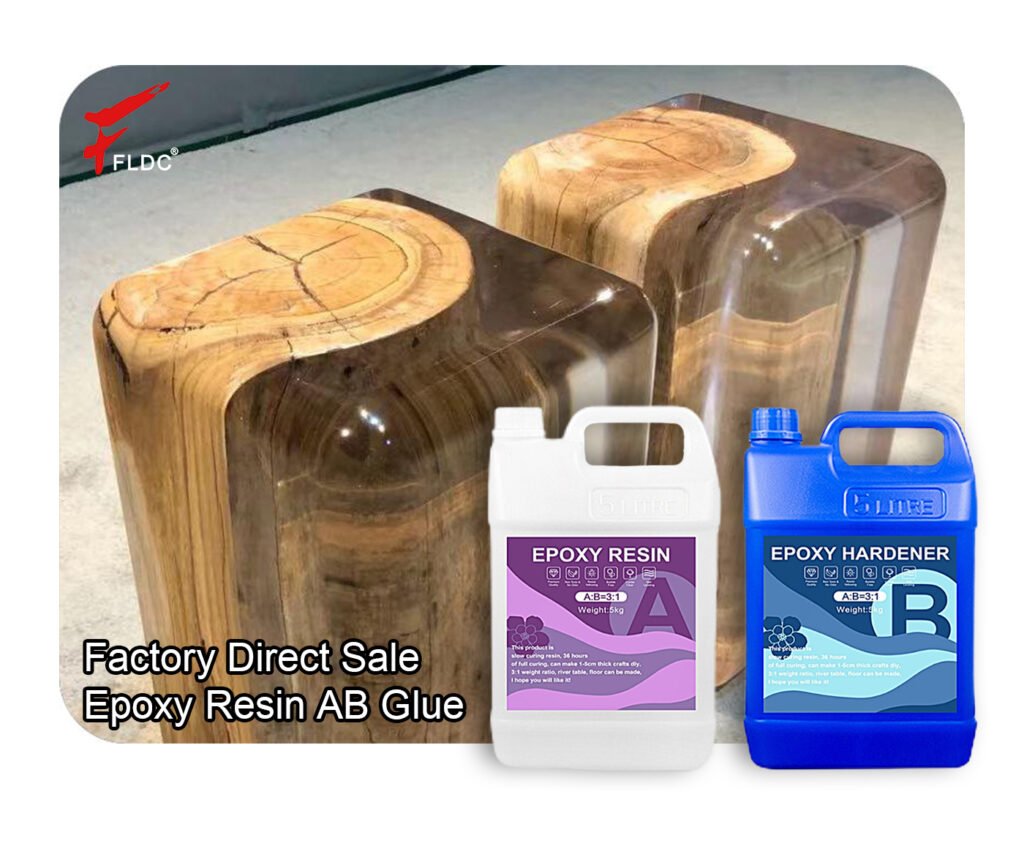
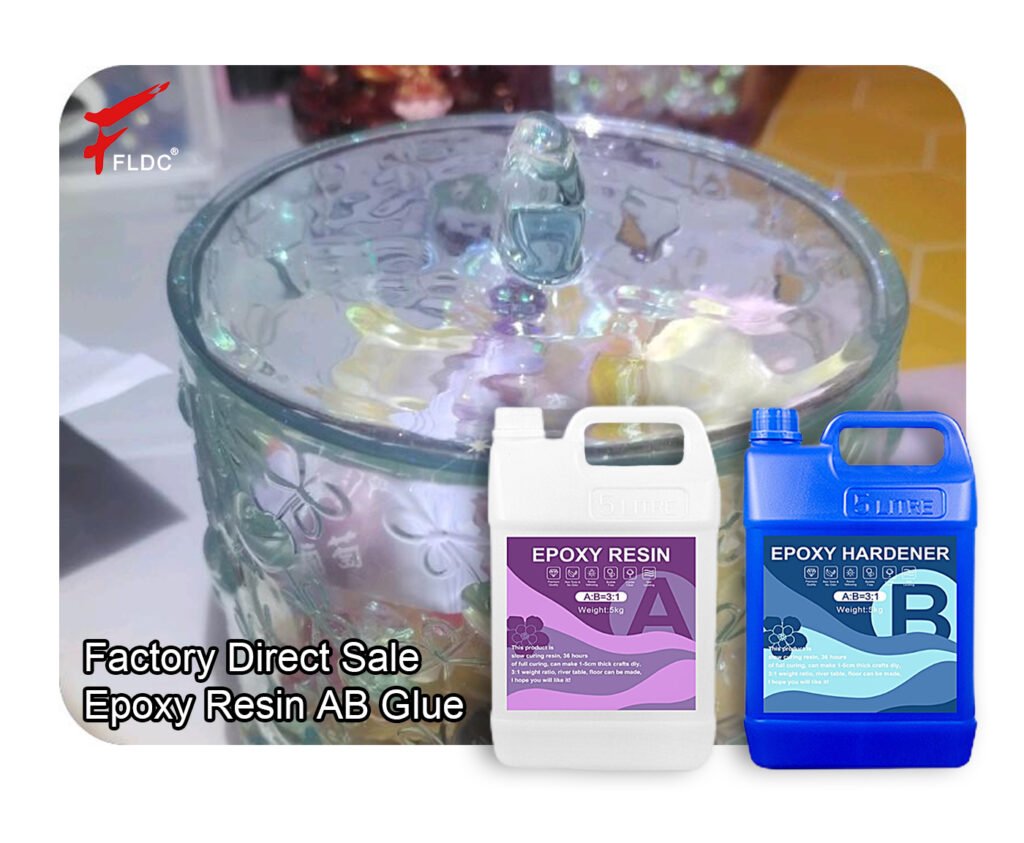
Using AB Resin (Epoxy) for Craft Making
AB resin (epoxy) is a popular and highly effective material for creating transparent, glossy, and durable crafts, such as decorative items, jewelry, resin art, and models. Below is a detailed guide covering material selection, step-by-step instructions, techniques, and precautions to help you craft high-quality resin artworks.
1. Basic Properties of AB Resin
-
Composition:
-
Part A (Resin): Base component, usually a clear liquid.
-
Part B (Hardener): Curing agent that chemically reacts with Part A to solidify.
-
-
Features:
-
High Clarity: Ideal for crystal-clear finishes.
-
Durability: Hardens into a tough, scratch-resistant surface.
-
Customizable: Can be tinted with dyes or filled with glitter, dried flowers, etc.
-
Curing Time: Typically 24–48 hours (varies by brand).
-
2. Materials & Tools Required
| Category | Recommended Tools/Materials |
|---|---|
| Resin | High-clarity AB epoxy (e.g., “Crystal Resin” or ArtResin) |
| Molds | Silicone molds (easy release, reusable) |
| Coloring Agents | Resin dyes, mica powder, glow pigments |
| Embellishments | Dried flowers, seashells, gold leaf, glitter |
| Tools | Digital scale (for precise mixing), mixing cups, stir sticks, toothpicks (for bubbles), heat gun/lighter (for bubble removal) |
| Safety Gear | Gloves, mask, well-ventilated workspace |
3. Step-by-Step Guide (Example: Resin Coaster/Keychain)
Step 1: Mixing the Resin (Critical!)
-
Ratio: Usually 2:1 or 3:1 (A:B) – follow manufacturer instructions strictly.
-
Method:
-
Weigh Parts A and B separately using a digital scale.
-
Mix slowly (3–5 minutes) to avoid air bubbles until fully blended.
-
Step 2: Adding Color & Decorations
-
Dyes/Pigments: Add sparingly to maintain transparency.
-
Layering: Pour a thin layer, let it partially cure, then add embeds (e.g., flowers, photos).
Step 3: Pouring into Molds
-
Slow Pour: Minimize bubbles.
-
Bubble Removal:
-
Resting: Let bubbles rise naturally.
-
Heat Gun/Lighter: Pass briefly over the surface (keep a safe distance).
-
Step 4: Curing
-
Environment: Keep dust-free at 20–25°C (low temperatures delay curing).
-
Demolding:
-
Soft Cure (6–12 hrs): Trim edges if needed.
-
Full Cure (24–48 hrs): Remove from mold and polish.
-
4. Advanced Techniques
-
UV + AB Resin Combo:
-
Use UV resin (light-cured) for detailed layers, then seal with AB resin for strength.
-
-
Faux Amber Effect:
-
Embed insects/leaves in resin for a natural amber look.
-
-
Polishing:
-
Sand with progressively finer grits (800→3000), then polish with resin polish.
-
Leave a Reply